Taking Decent Photos of Miniatures
The keyword here is 'Decent'
I’m bad at taking photographs, I don’t have a single good selfie and a few of my ex-girlfriends have lamented my inability to operate a camera.
The trouble is, taking photos of miniatures is sort of important if you want people to see them (and you don’t want them all in your house), but professional photography equipment is expensive, so I had a think and a Google as to how to take “half-decent” photos of my minis without breaking the bank (and ideally without spending much at all)
Disclaimer: I’m in no way a professional at this and my advice should be taken as that of a rank amateur
We’re going to need a few things:
- Camera
- Lights
- Background
- Some minis
The Camera
OK, so if we want to take photos, we’re going to need a camera of some sort.
Now we could go down the road of picking up a DSLR, or some other good quality camera. But that’s going to be expensive, and frankly, a waste of time considering the fact that I (and likely you) already own a smart phone.
In my case it’s a Samsung S23, with a 50MP rear-facing camera which I’m told is very good, and a quick Google search brings up plenty of guides on how to properly make use of the “Pro” mode. “Pro” mode (which most modern smart phones should have) lets you change various settings in order to get your perfect picture. I’ve linked a guide on the Samsung “Pro” mode features below, but there is plenty of higher level information available.
There are also plenty of YouTube videos, and I’m positive that you’ll be able to find a guide for your particular device in order to get the best out of it.
OK, that’s our camera boxed off! Now we need some lights!
The Lighting
You can go absolutely mad with lighting, and from my quick research it seems that it’s quite possible to spend just as much on lights (if not more) than you might spend on a decent camera.
But we don’t need to light up anything particularly big (yet) so for our purposes some LED lights will do just fine.
Note the plural “lights”, i.e. more than one. The idea is that we want to minimise shadows, and to do that we use multiple light sources.
If you have some spare cash you could splash out on a “light box”, these are little boxes with multiple light sources specially designed to take photos in, but we’re trying to do this on the cheap
These are great, they have a few different lighting modes, and they bend so you can get them into the right position. I also found that an LED torch can be used to good effect as well, and you can pick those up really cheap.
I’ve found plenty of free guides available on setting up the lights, you can find one linked below to get you started:
Setting up Lights for Beginners
The TL;DR for lighting is that you want to get as much light onto your subject as possible without having too much that you get a glare off the light being reflected back into the apeture of the camera.
Trial and error is going to be key here, play around with distance, angle, and colour (if you have the option) and you’ll soon figure it out. For me this is something that’s easier to do than to actually explain.
The Background
The main idea here is that we either need to present the minis in an aesthetically pleasing way.
There is no real right and wrong here, but there are some things you should avoid, such as backgrounds that have a lot going on, or feature unrelated art. Realistically you have 3 options, White, Black, or an image (be it a pattern or a proper image/piece of art)
For example, if you were taking photos of your Chaos Warband for Mordheim you’d likely want to avoid using “Codex: Space Marines” as the background image and either put them on a black/white background, or something appropriately Grimdark. Likewise, if you have some bright pink Space Marines you probably don’t want them walking down a medieval cobbled street. Common sense and colour theory will help you here.
Below is one of the first attempts I made using an AoS battlemat I got in a copy of Stormbringer Magazine (the only copy I’ve ever bought). As you can see, the minis get drowned out because the background is so busy.
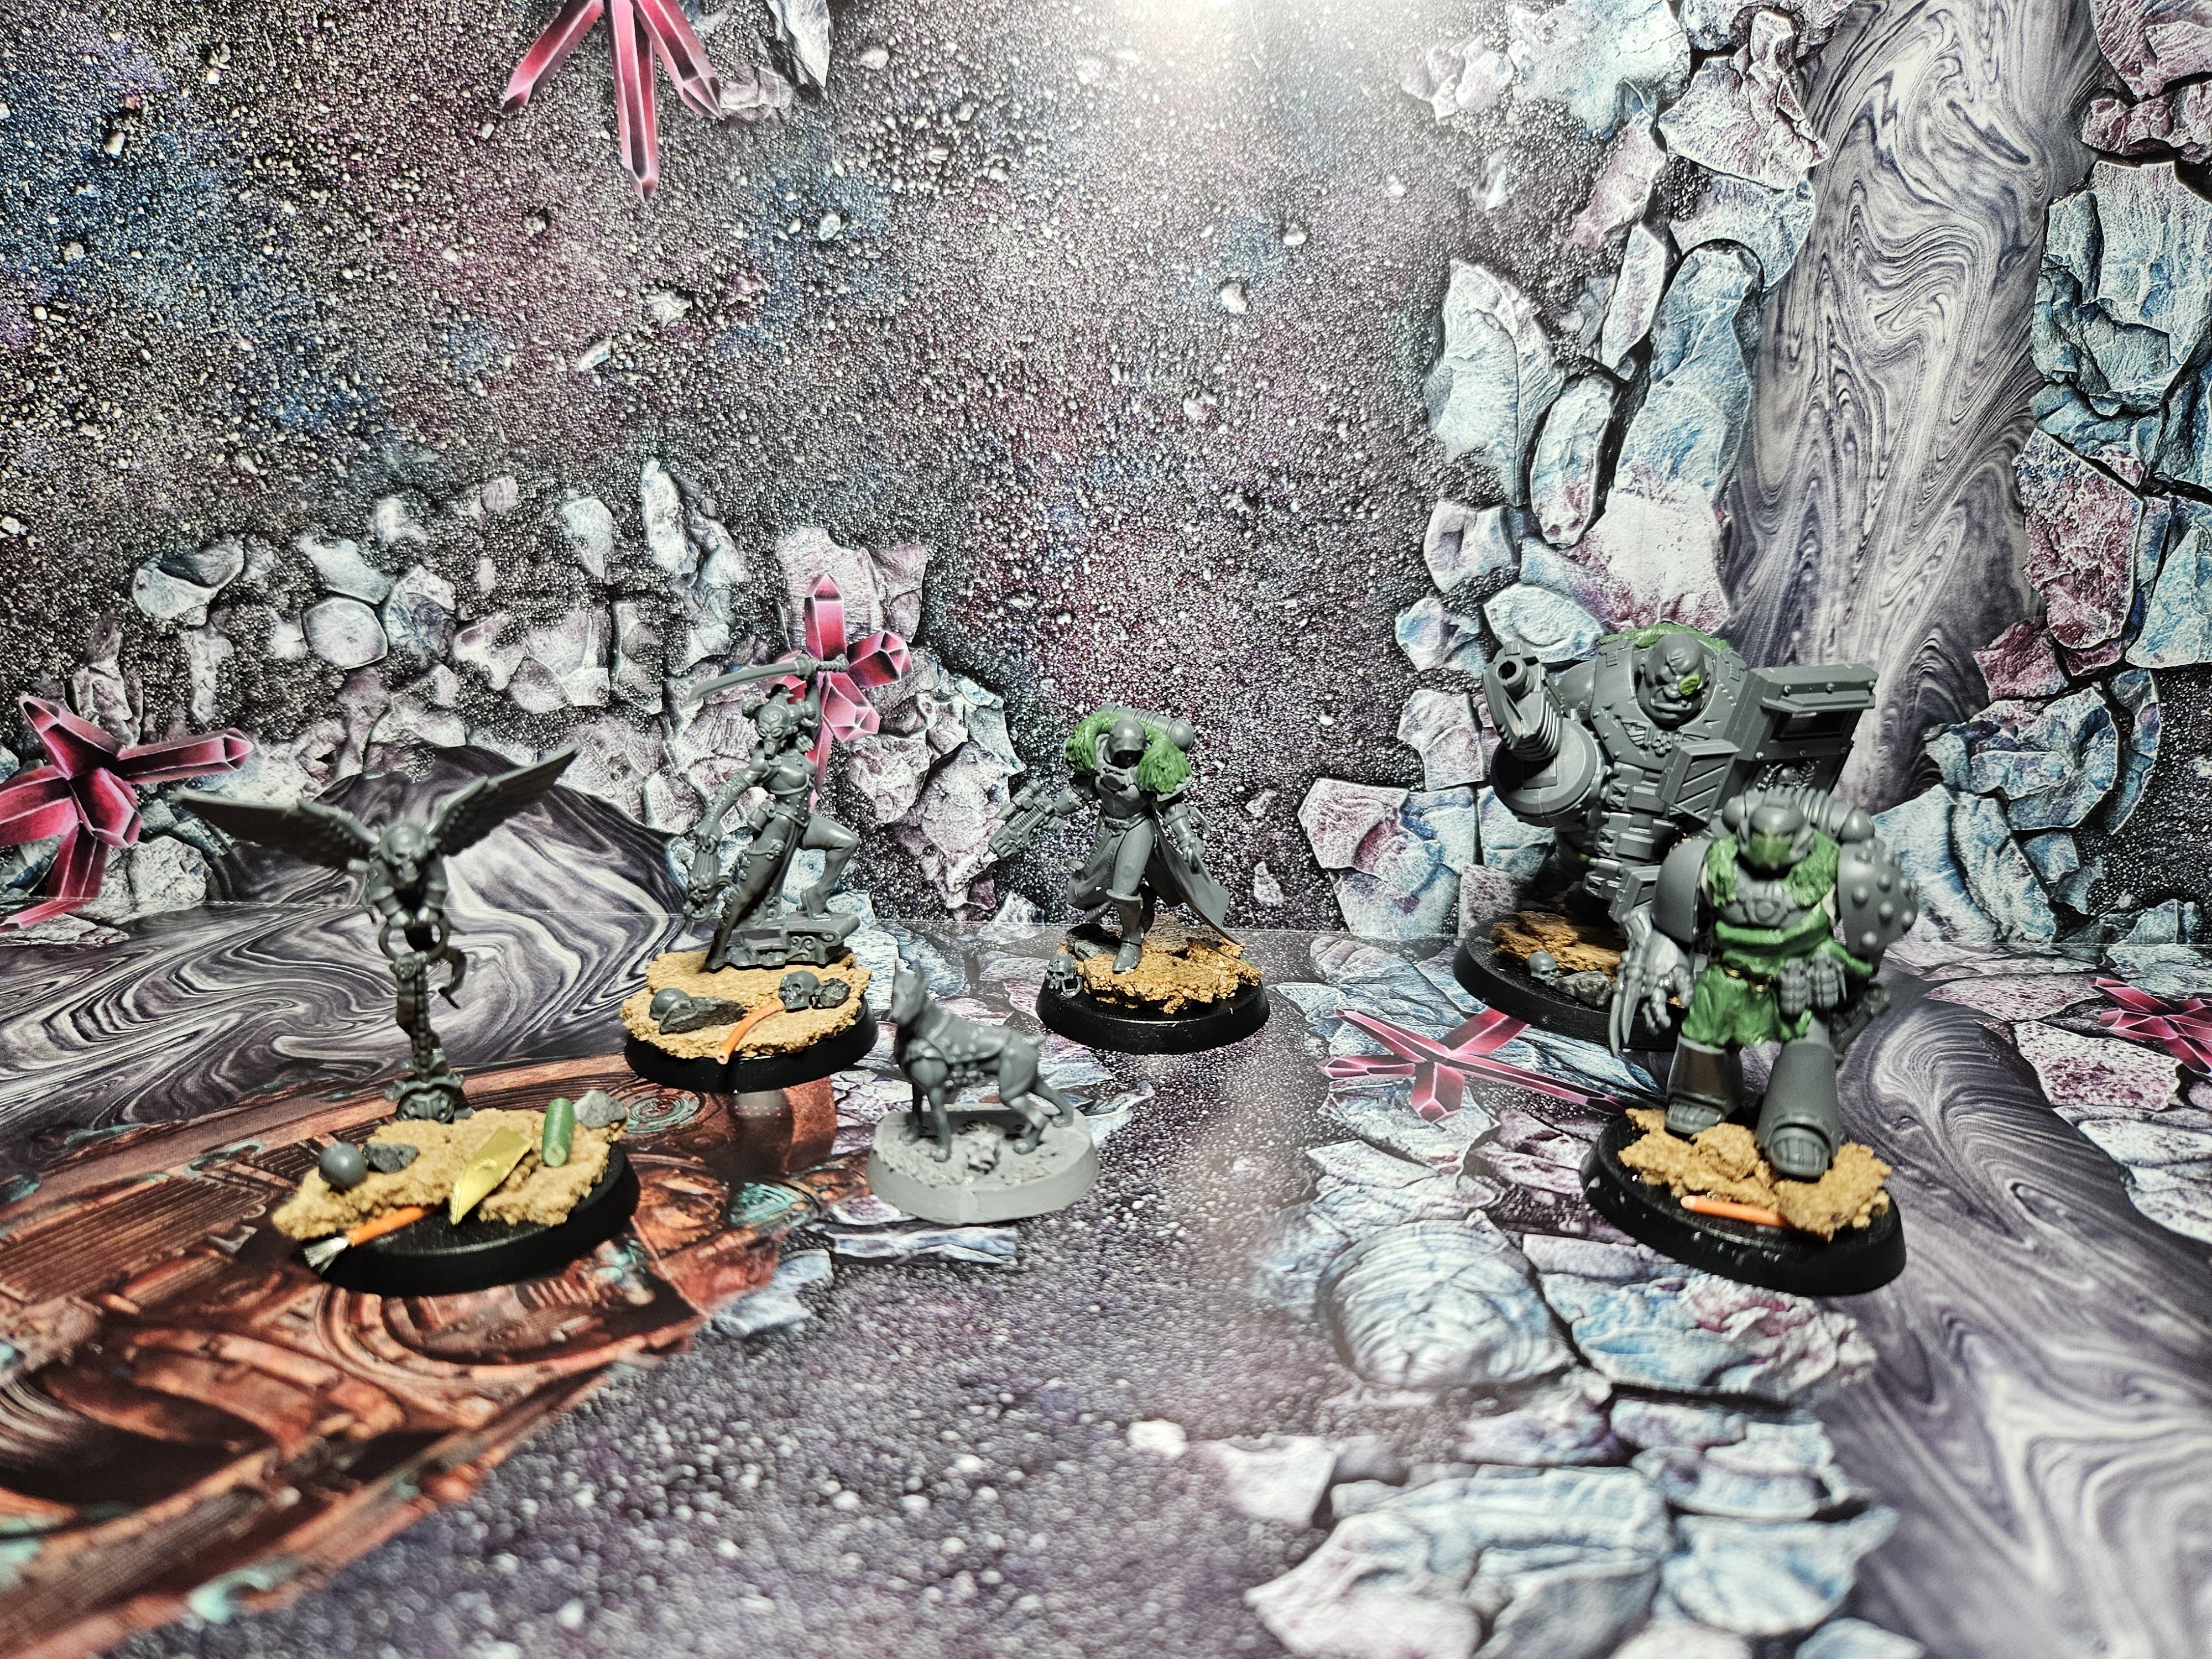
As you can see, the minis (especially as they aren’t even primed yet) blend into the background making it really difficult to see any details from a quick glance.
Compare those to this test photo I took and you can see a massive difference:

Plain white and plain black work well. I find white can be a bit harsh, but for miniatures with brighter base colours (i.e. blues/reds) the light background can really make the miniature pop off.
My Solution
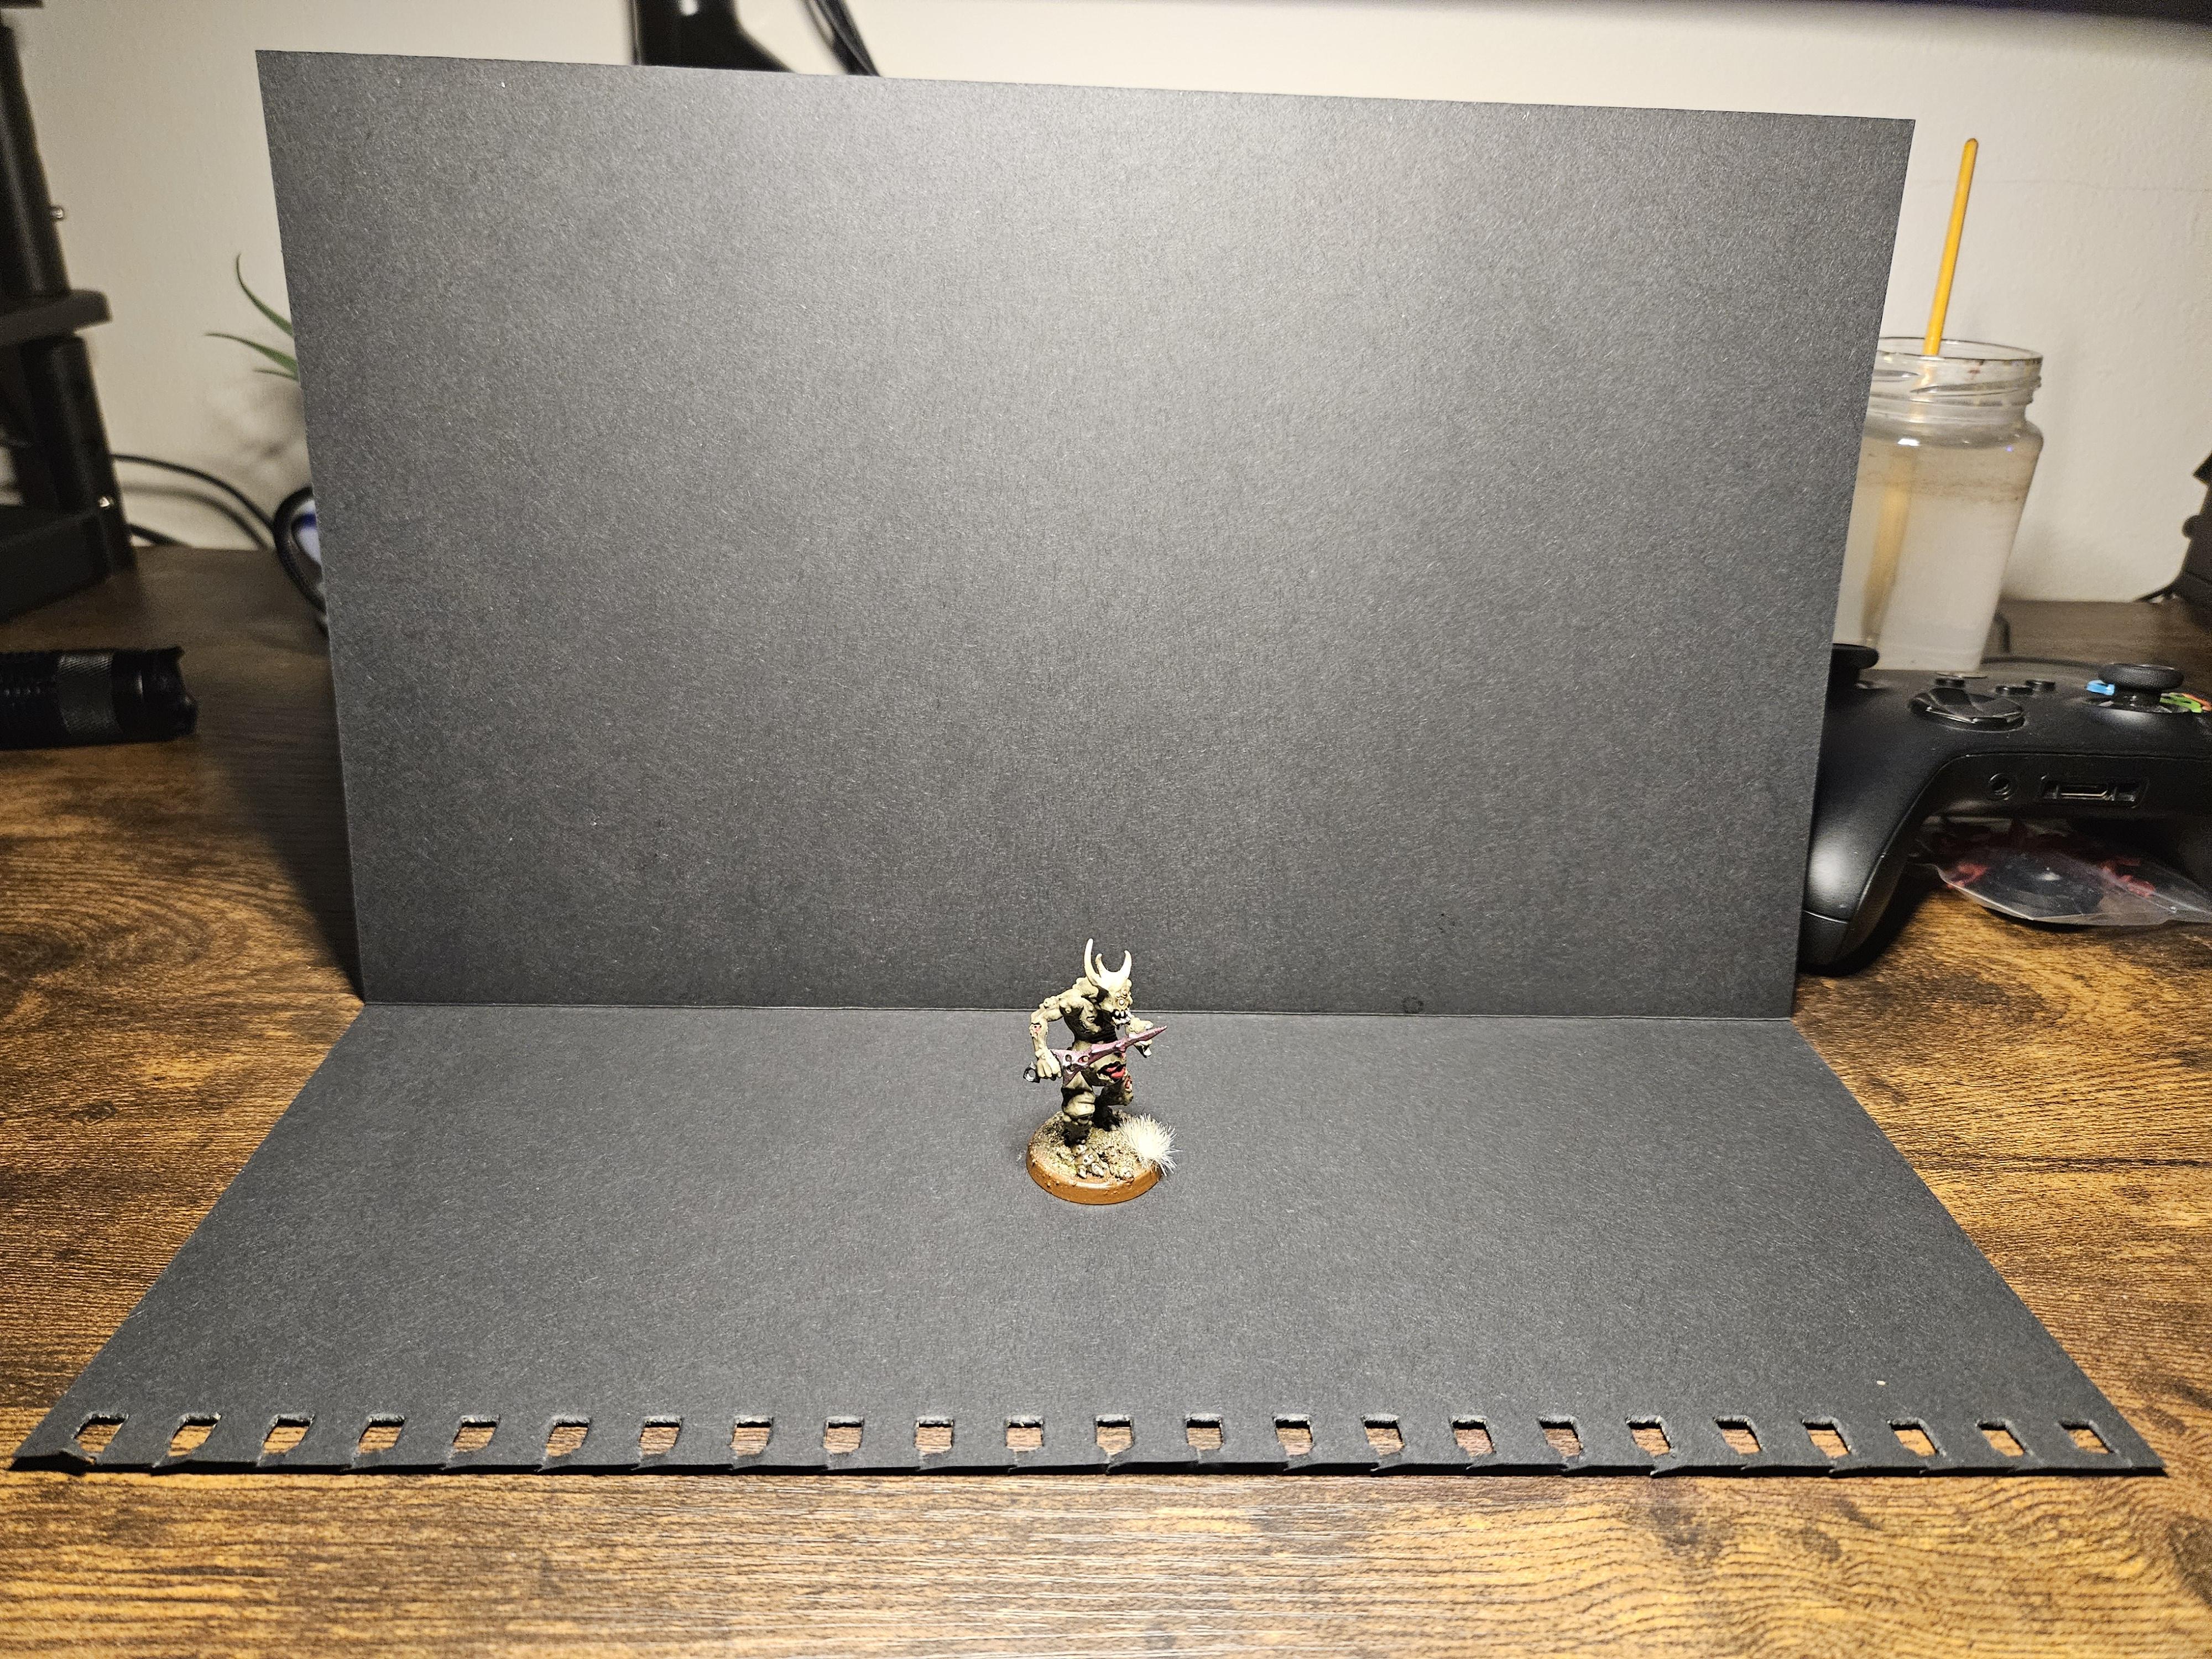
Yep, that is literally a piece of black paper I tore out of a scrapbook and folded over. I used a little metal weight to really make a sharp crease and propped it up with a candle (I made sure to put the flame out first)
Note: the paper I used is roughly 30cm x 30cm, it’s not A4 sized. I think if you can get a piece of A3 paper that’ll be perfect.
I’ve angled my LED lamp so that it’s at an angle to try and reduce shadows, reduce being the operative word as there are definitely some still there.
All we’re going for here is the ability to take a decent photo, it doesn’t have to blow anyones socks off
How it Turned Out
Black Background:
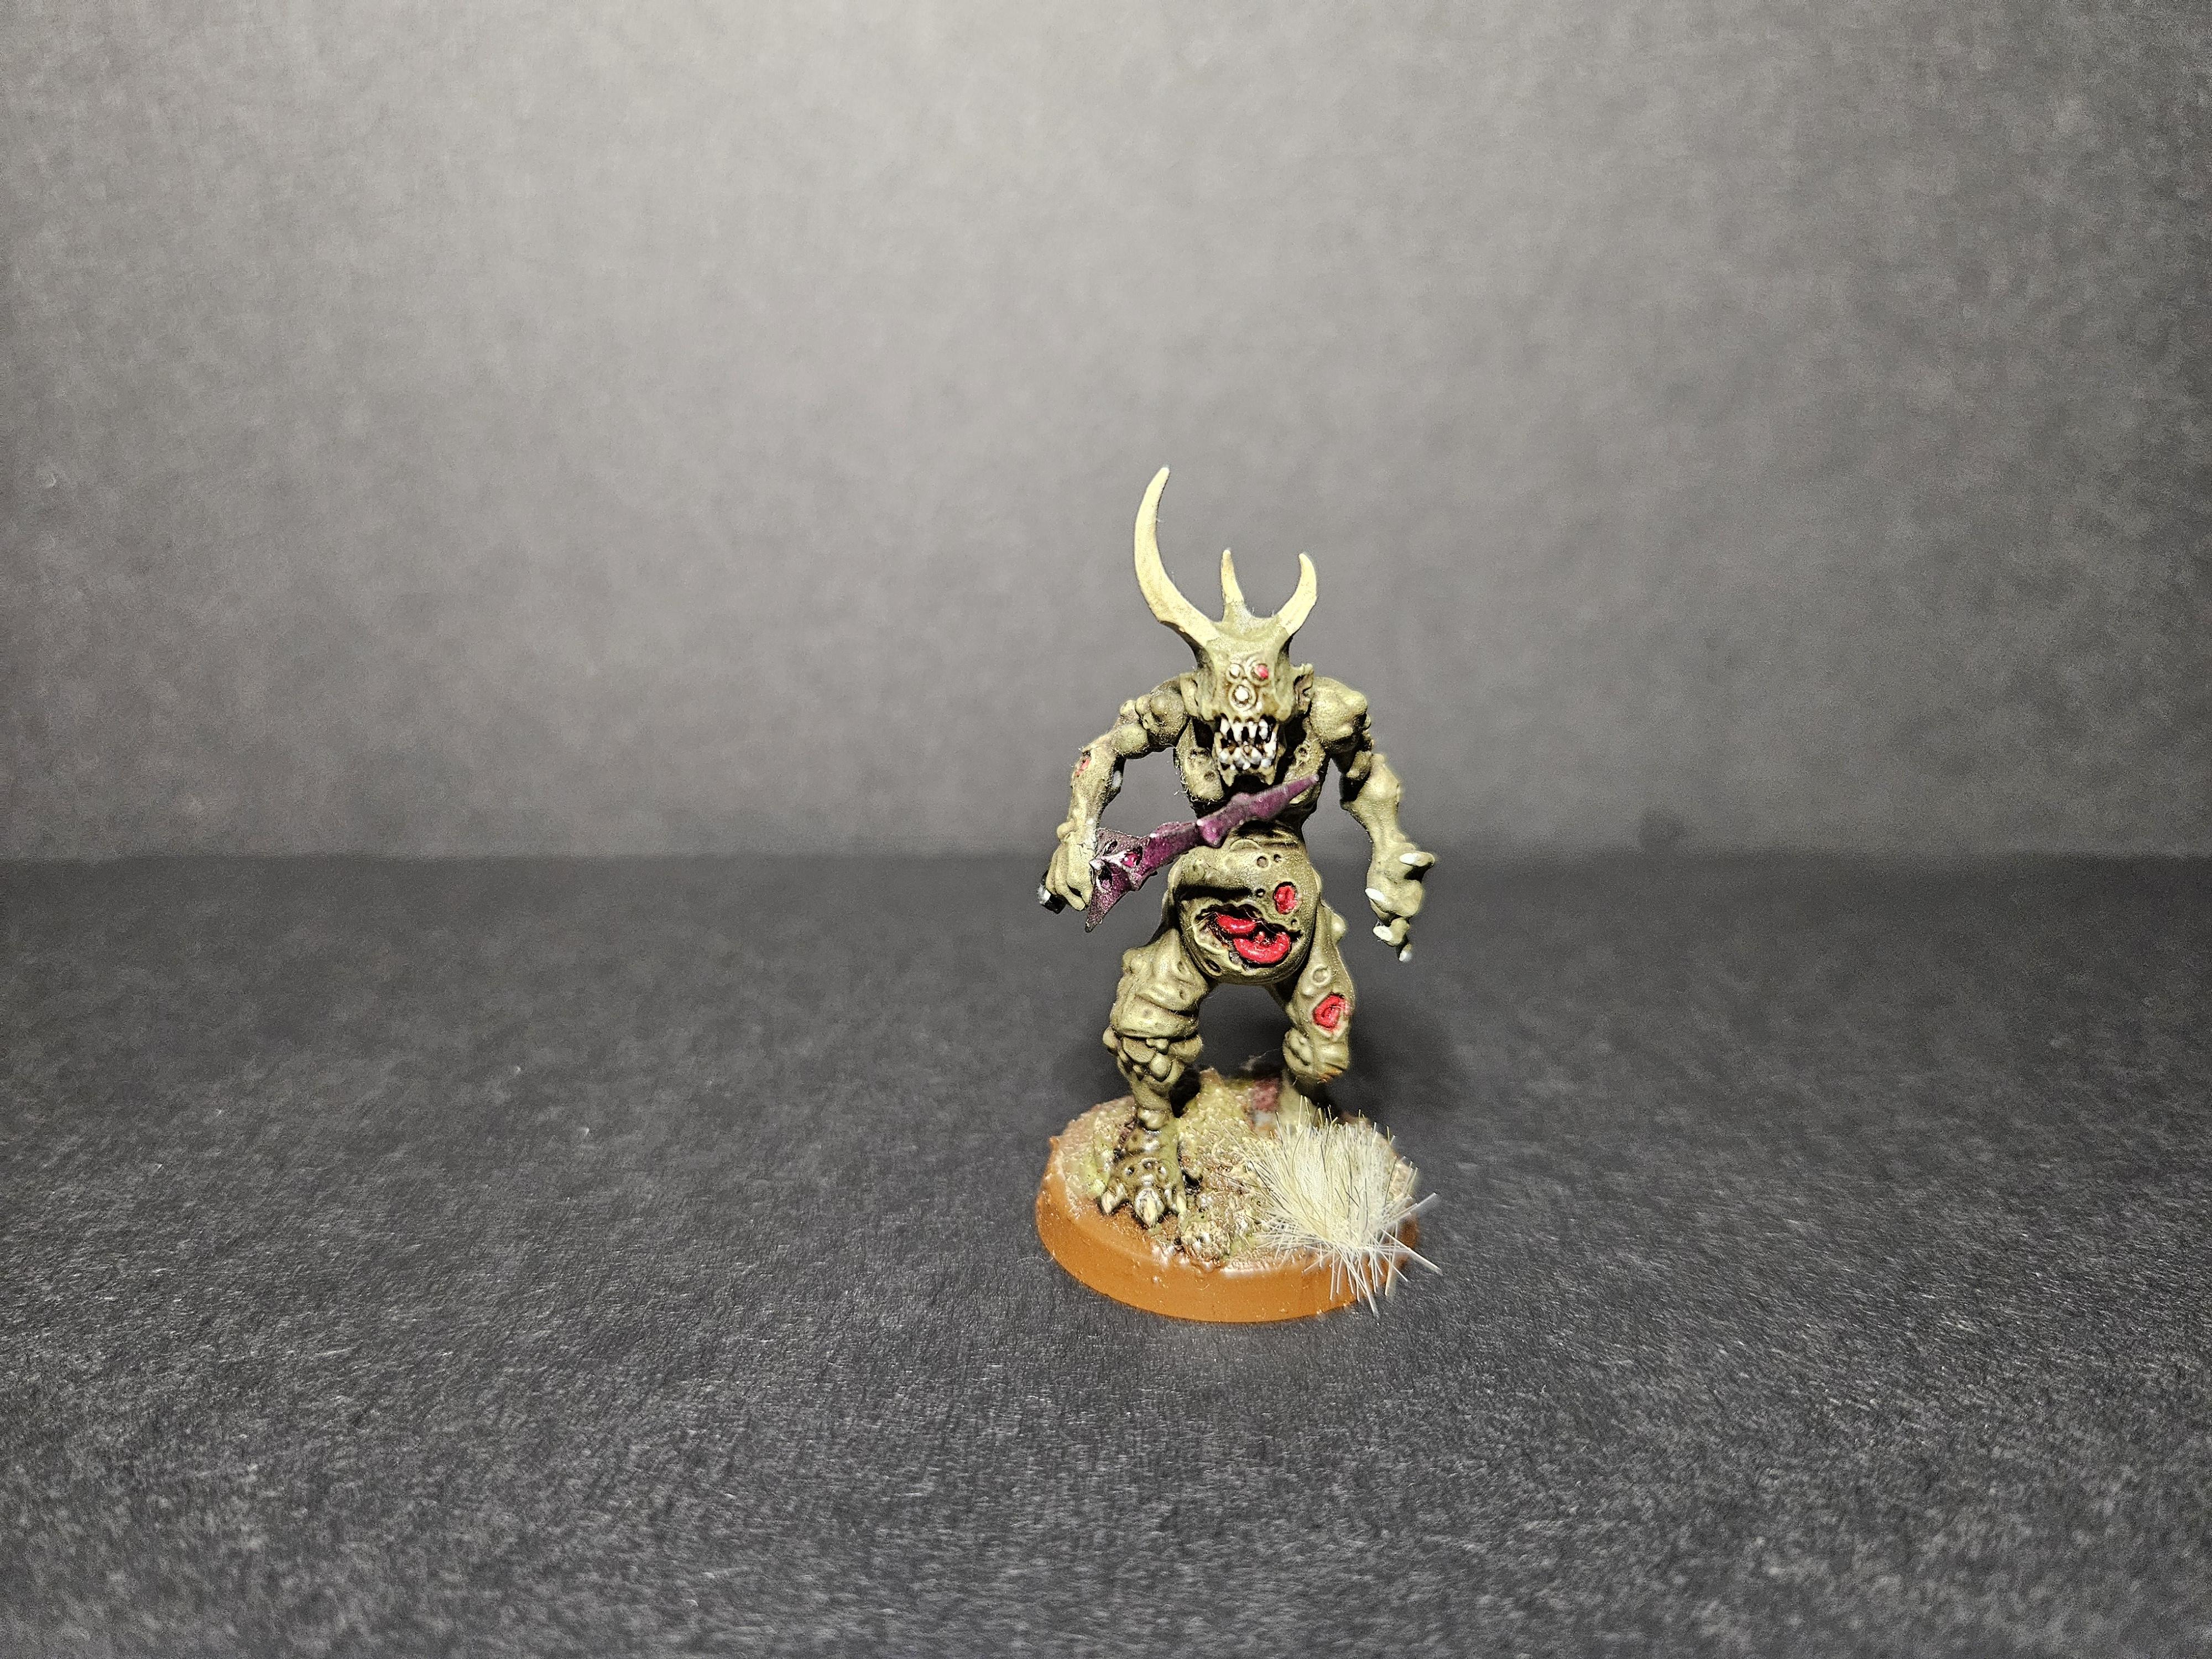
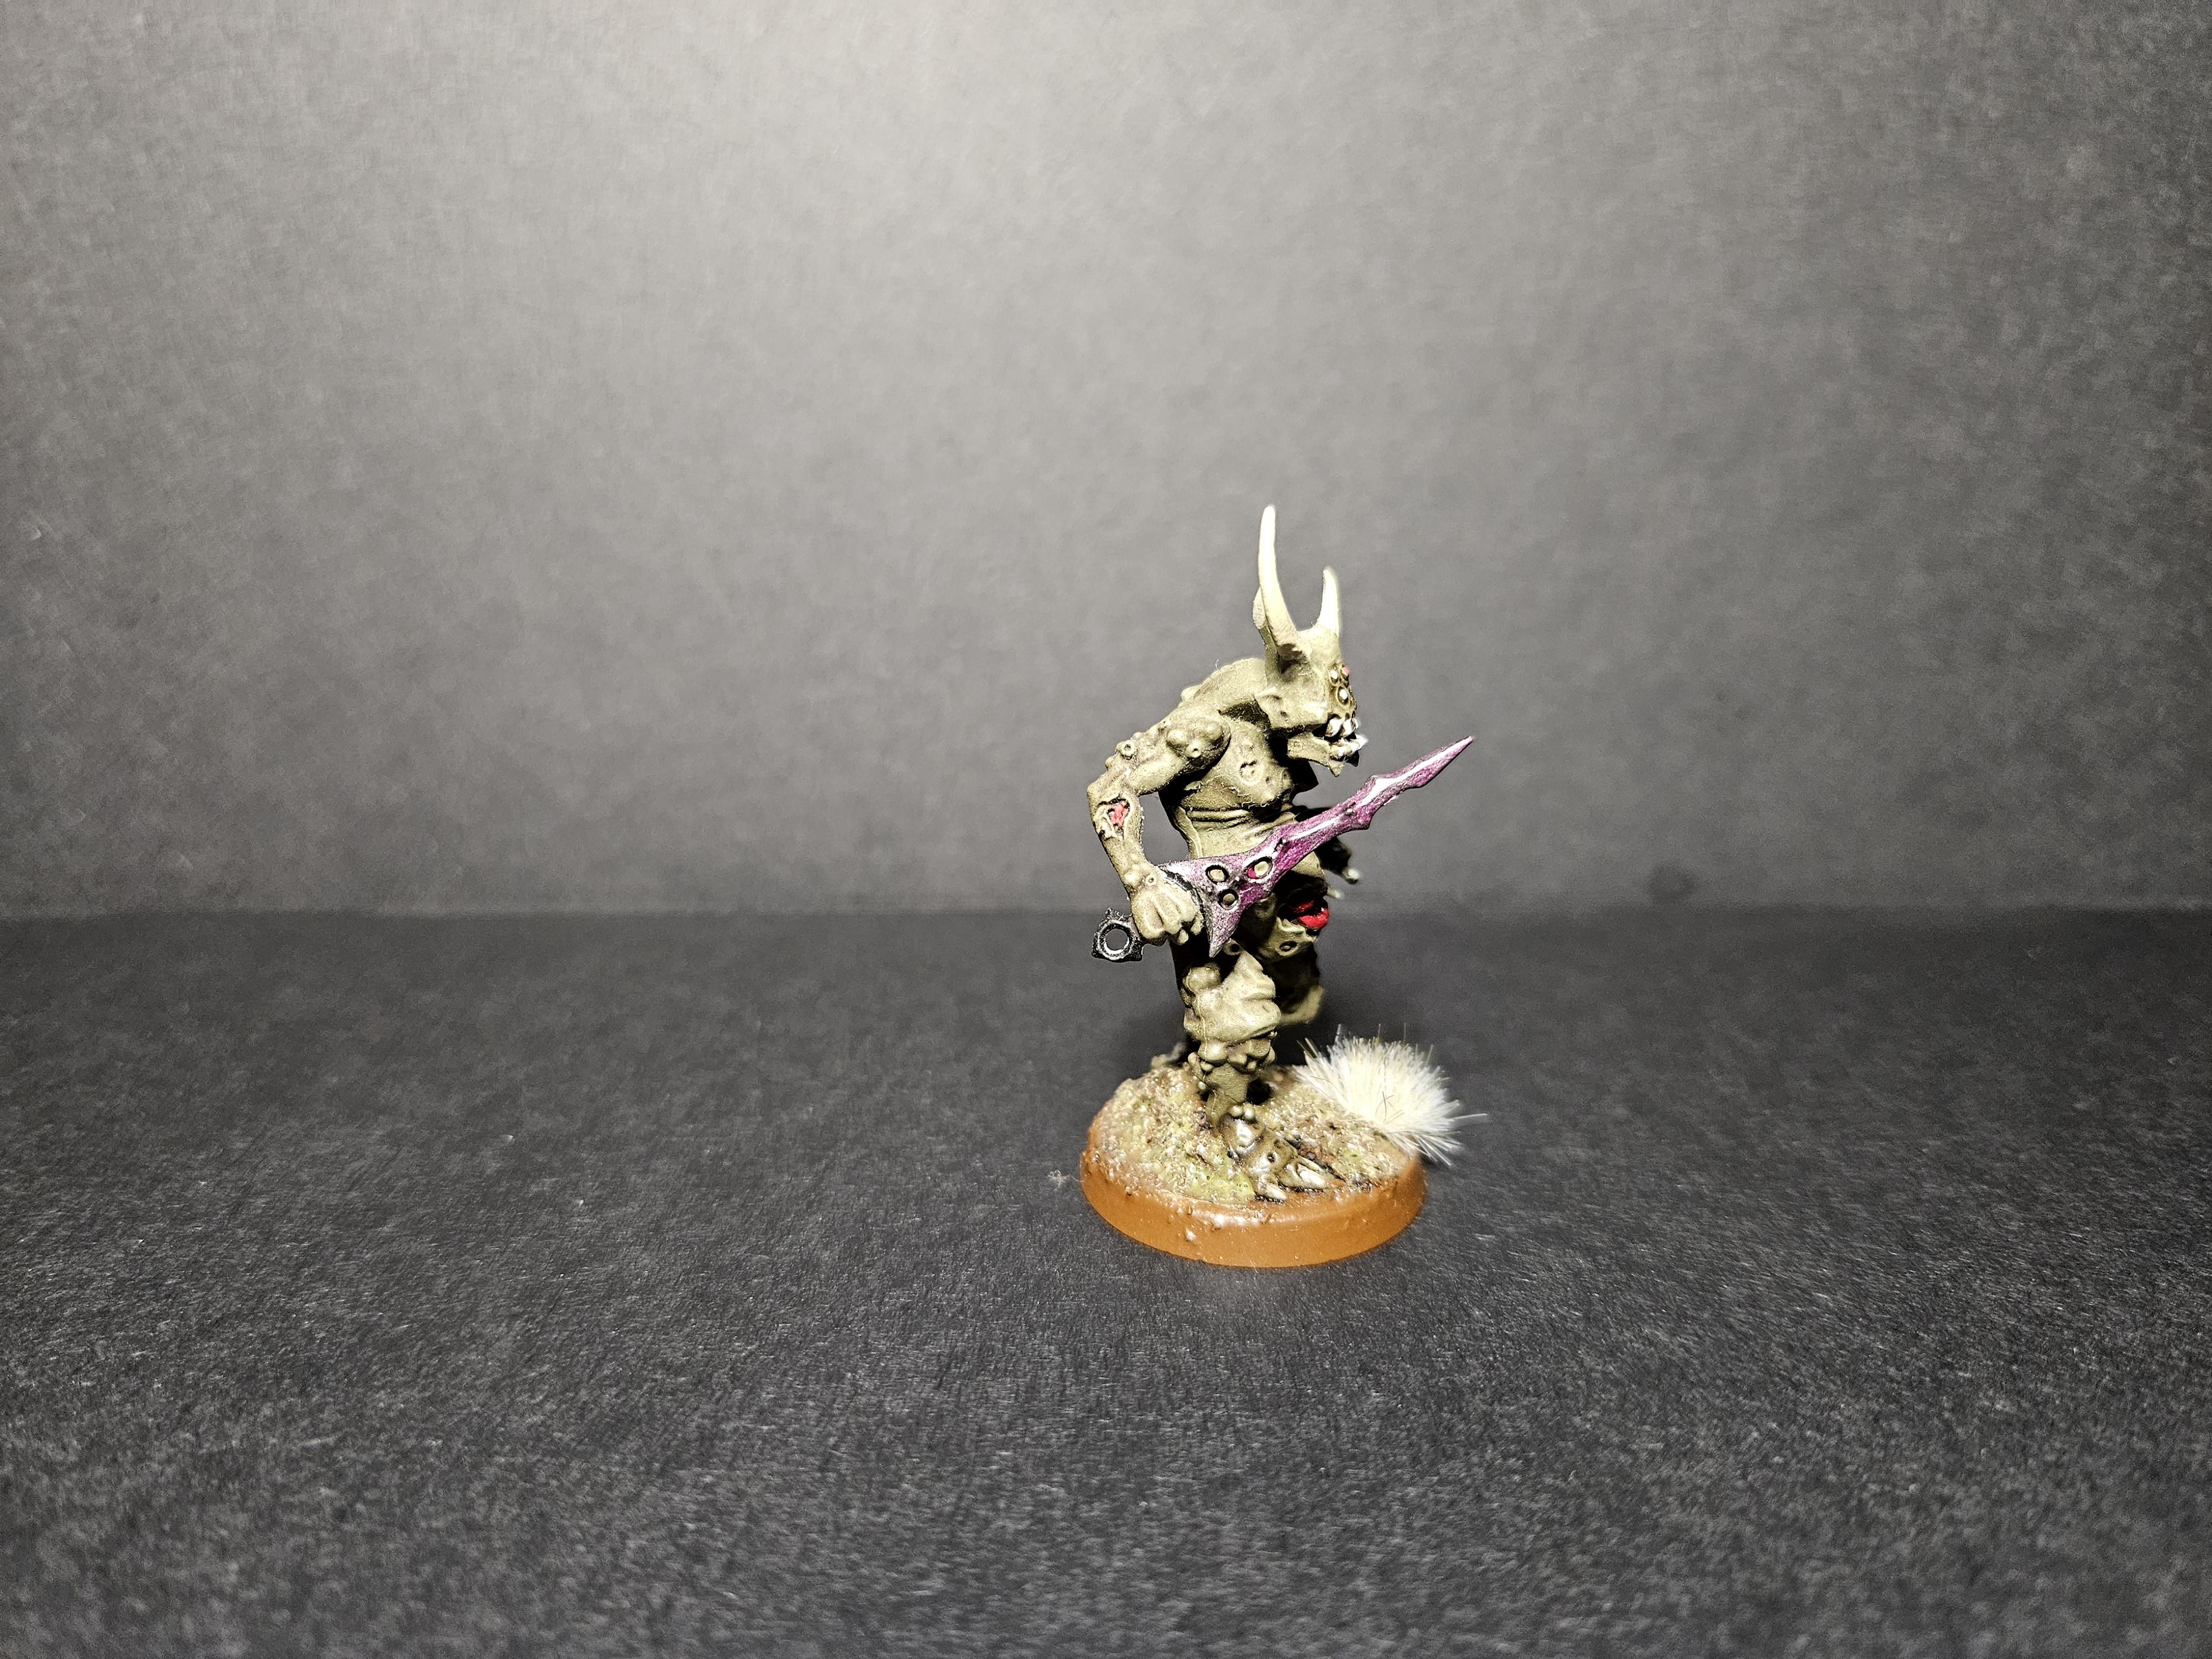
This is my favourite so far, it’s not true black so there is some reflection (which helps reduce shadows)
Goals
For those of you who frequent the Warhammer socials, you may know Garfy of Tale of Painters.
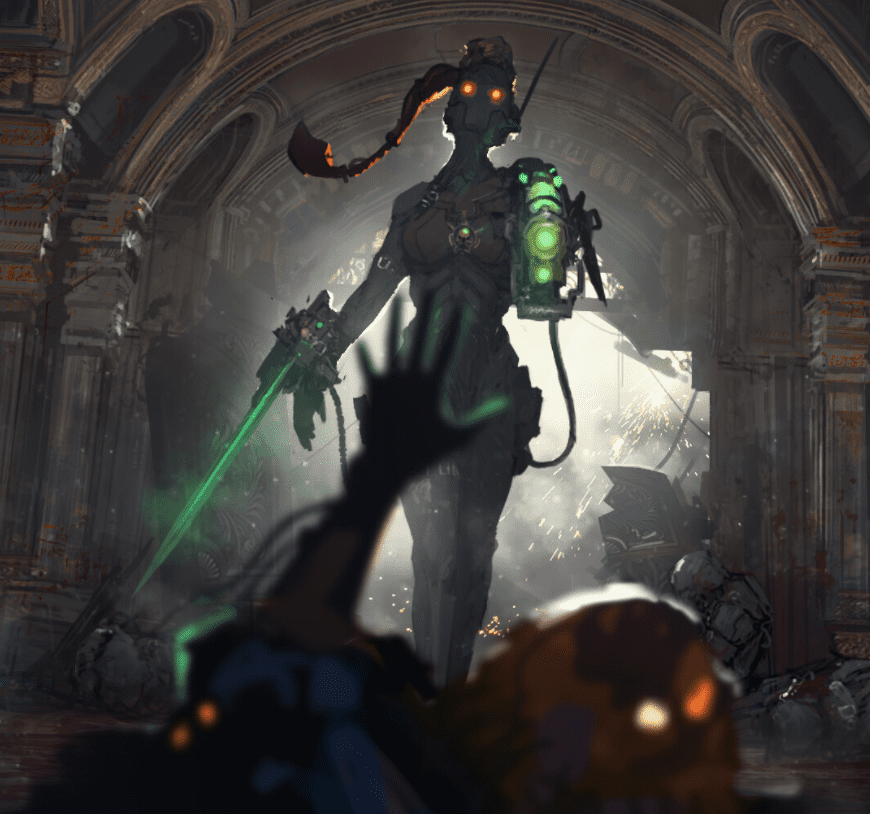
Garfy has upped their game BIG TIME recently when it comes to taking pictures of dope minis, including fog and different coloured lighting effects.
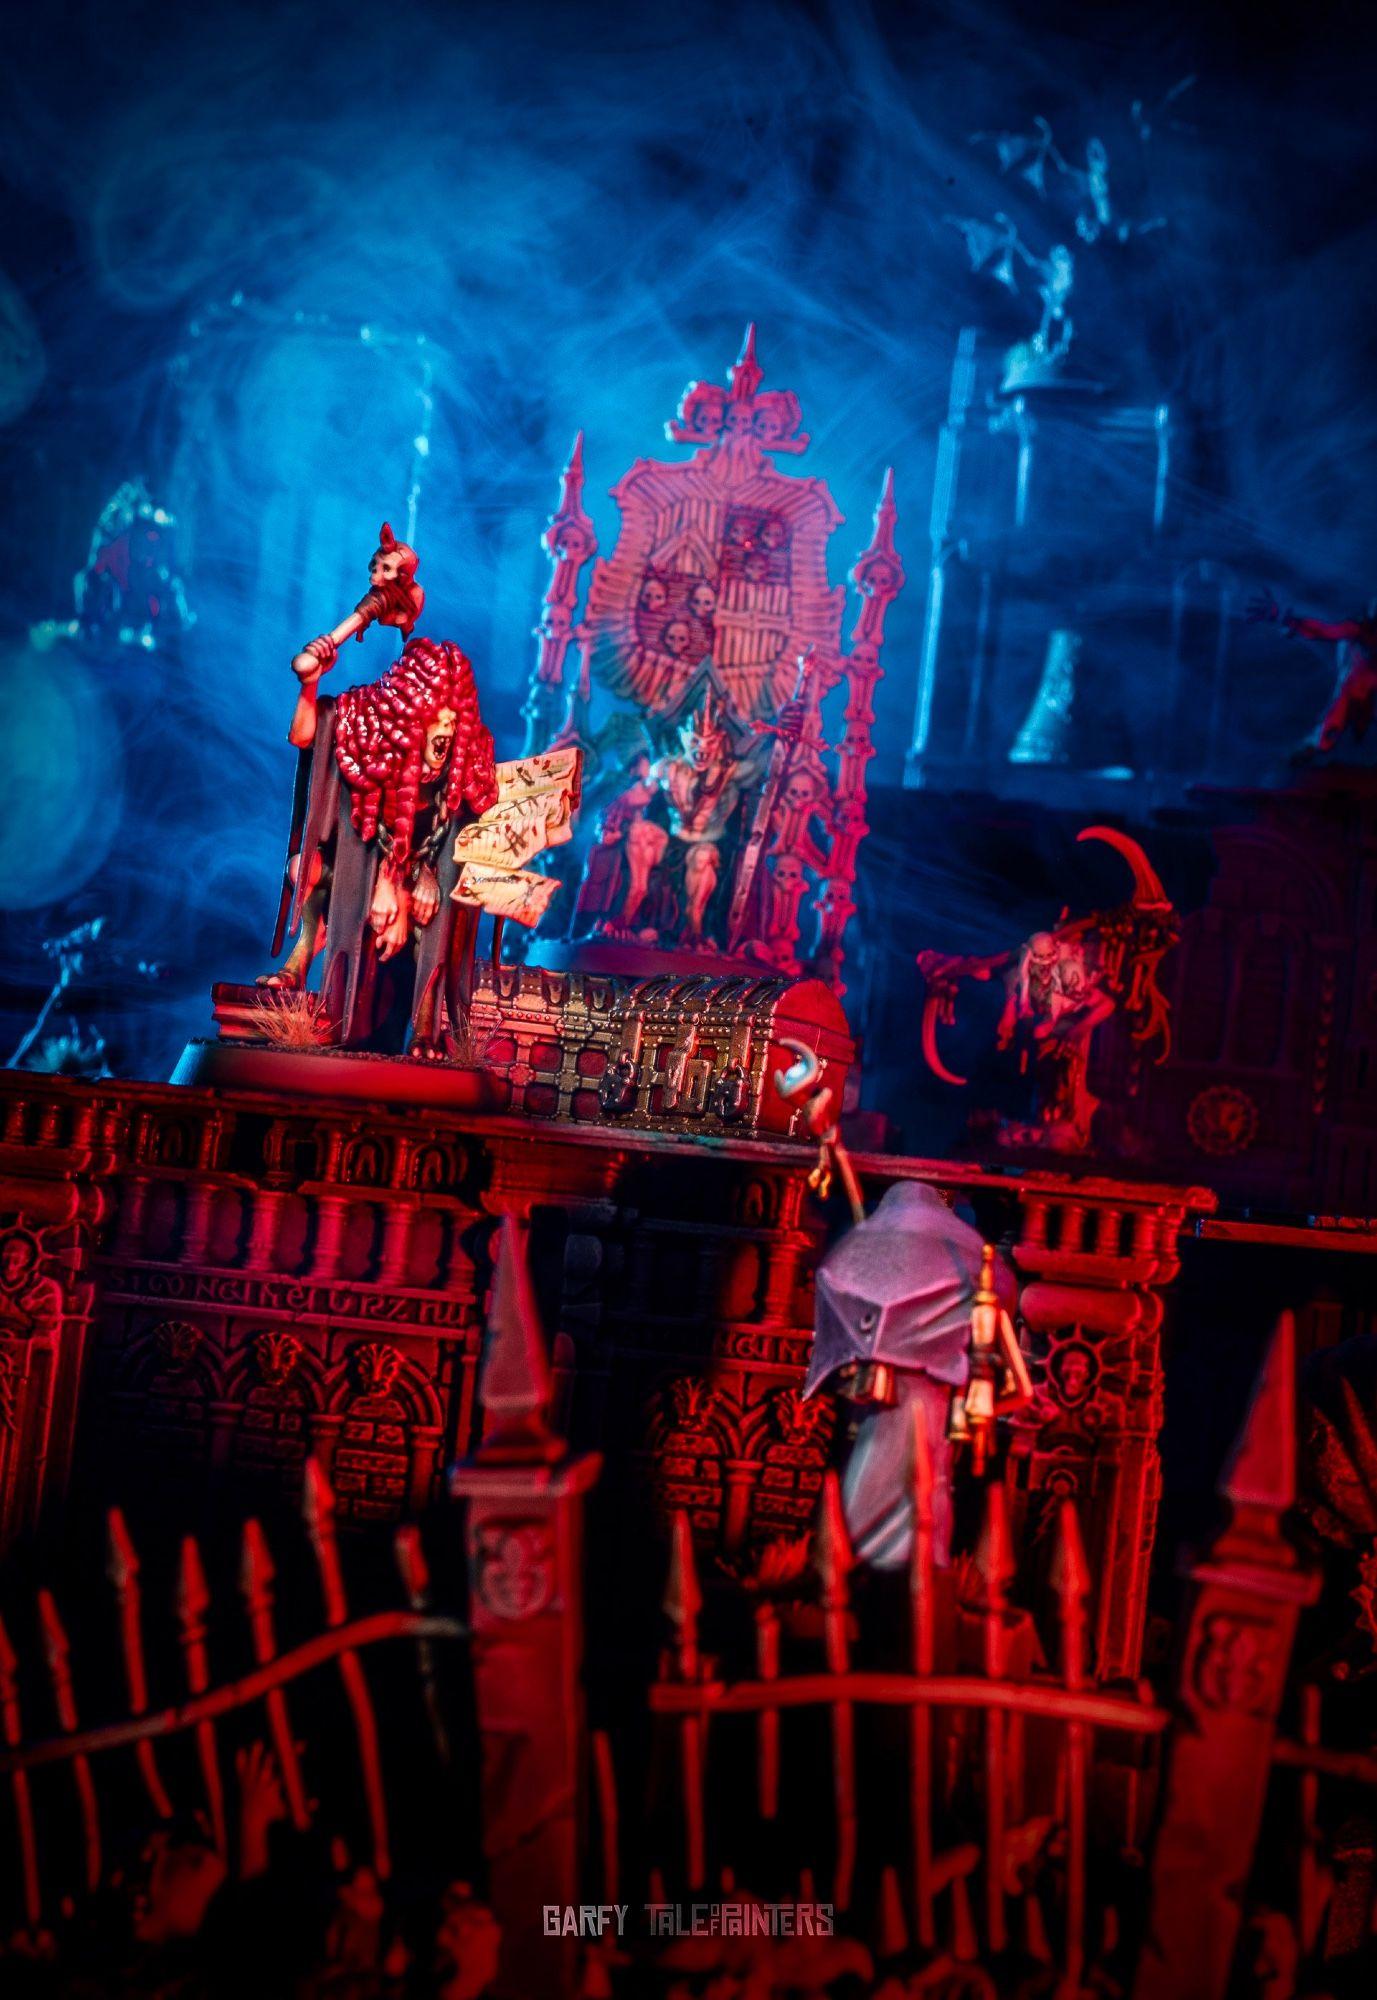
How epic is that?
And this one looks like it’s straight from “The Mummy” (starring Brendan Fraser)
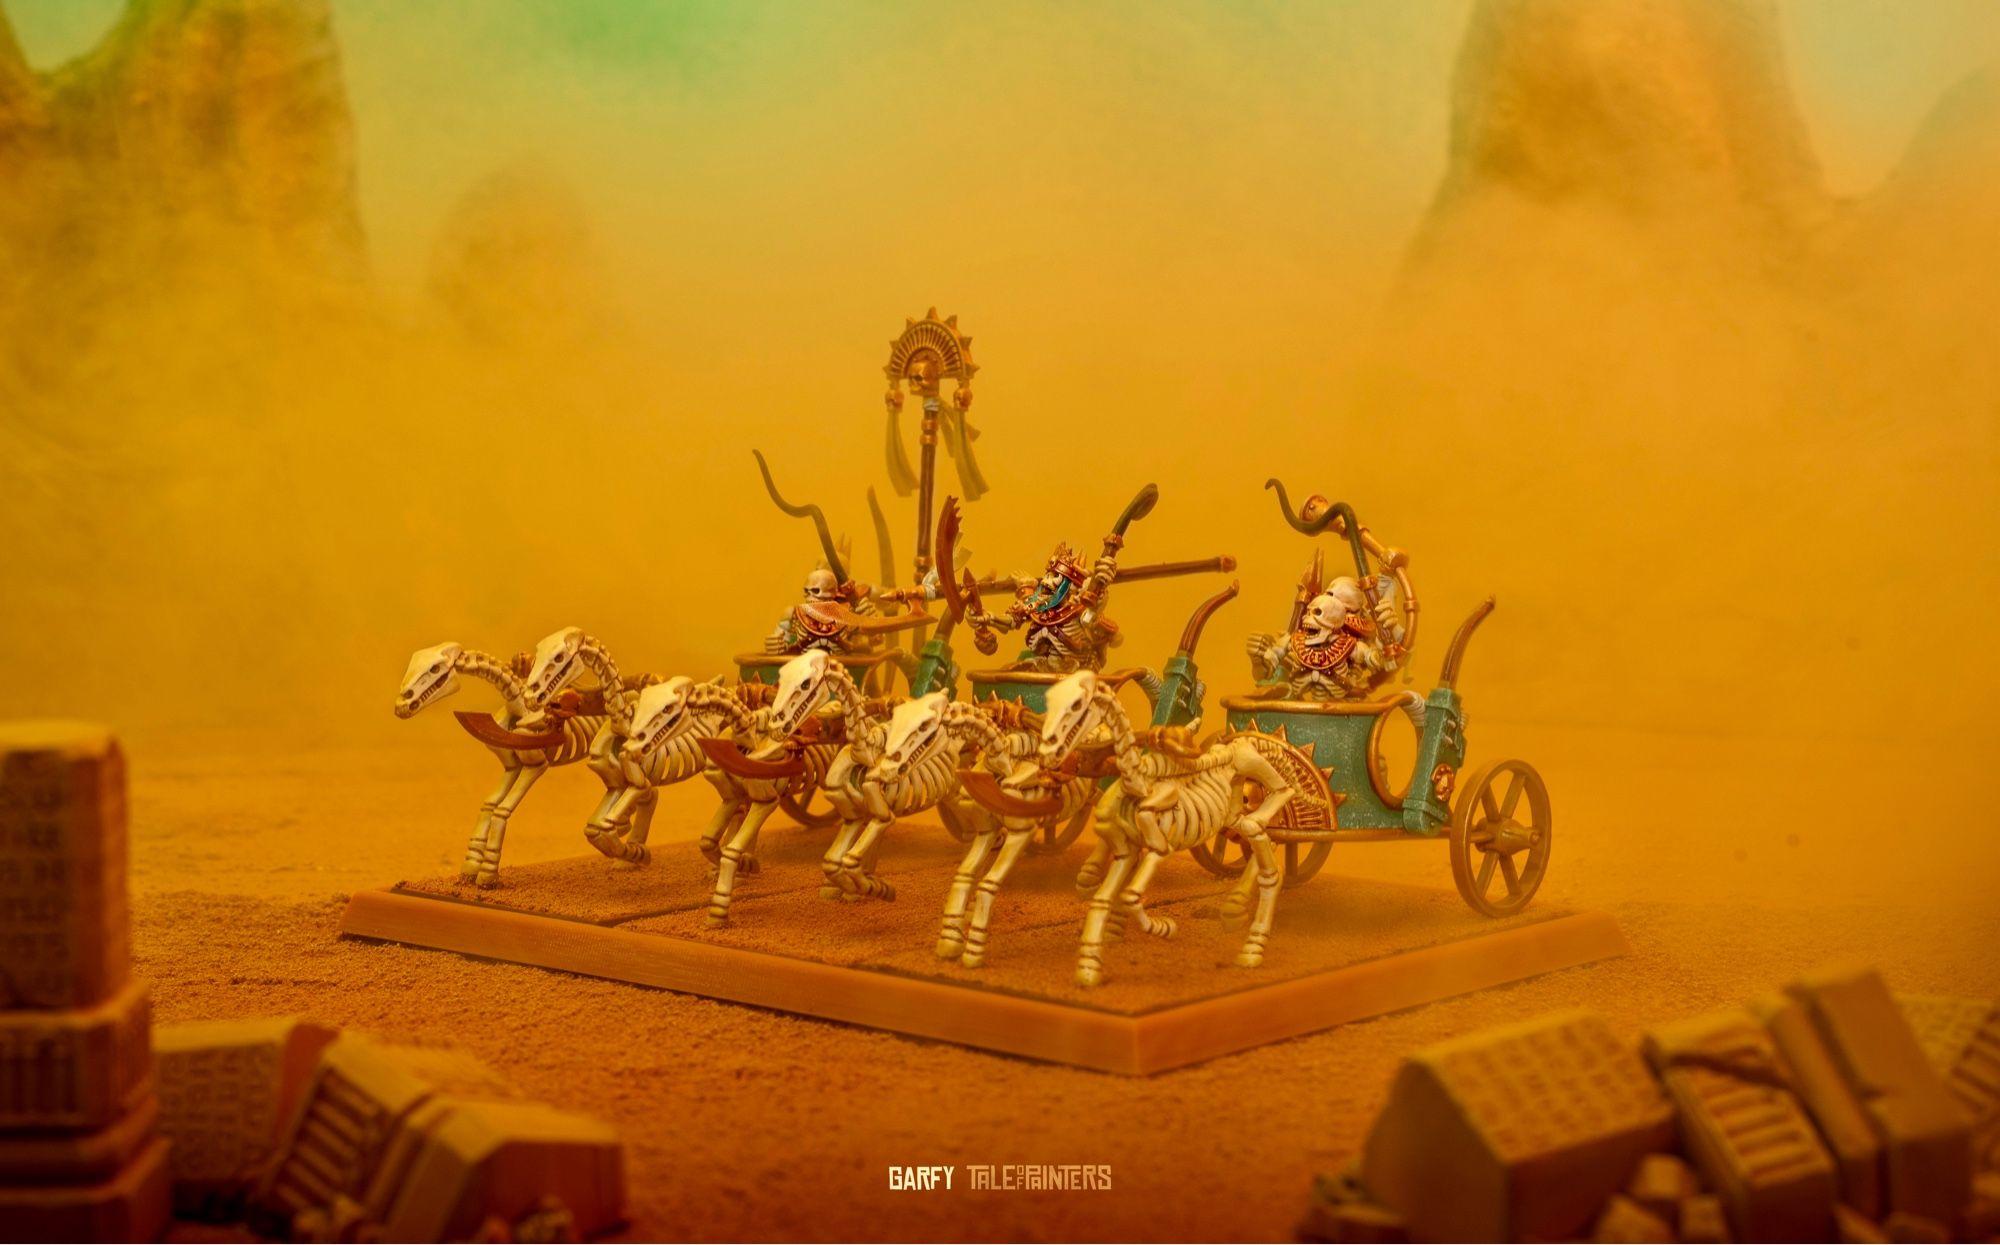
Those are what inspired me to try and take “half-decent” pictures, because if Garfy can put in the effort to make those kind of images, I can at least work out how to point a light properly.
OK, I’m worded out on this one, hopefully I’ve at least given someone an idea as to how you can take better pictures without breaking the bank. And if not then hopefully you’ve taken some inspiration from Garfy.
I’ll update this/do a part II in a few months once I’ve gotten a bit better, for now I’m going to go read all the photography for beginners articles I can find.